

Identify display damage correctly
Before you apply anything to your screen, be sure what you are dealing with. Scratches, hairline cracks and film damage look similar at first glance — but they need completely different solutions.
Three tests in under two minutes
- Fingernail test: drag your nail across the spot. If it does not catch, the scratch is light to medium.
- Light test: switch the display off and angle it against a bright lamp — every scratch shows up.
- Edge test: if the line runs into the display edge or around a corner, it is usually a crack, not a scratch.
- Film test: gently lift one corner of the protector. If the line disappears, only the film was damaged.
The damage types at a glance
1. Fine micro-scratches
Only visible in sunlight or against a lamp, never noticeable by touch. Caused by sand and dust in bags and pockets. Fix: fill them optically — the result is usually completely invisible.
2. Medium-deep scratches
Your nail catches slightly and the line shows even on an active display. Usually caused by keys or grit. Fix: fill them optically — the scratch becomes strongly reduced or invisible.
3. Hairline crack
A very thin line, often starting at a corner or edge and branching slightly. This is structural damage. Fix: replace the glass; filling is not intended for this.
4. Break or shatter pattern
Clearly visible break pattern, often with sharp edges. Fix: repair shop. Stop using the device if glass splinters are loose.
5. Panel damage
Colour bands, dark spots, dead pixels or failing touch. The glass itself can be perfectly intact. Fix: repair — no surface treatment helps here.
6. Damaged screen protector
Scratches, chipped edges or a milky patch inside the film. Fix: replace the protector — the display underneath is usually flawless.
Stunning results!
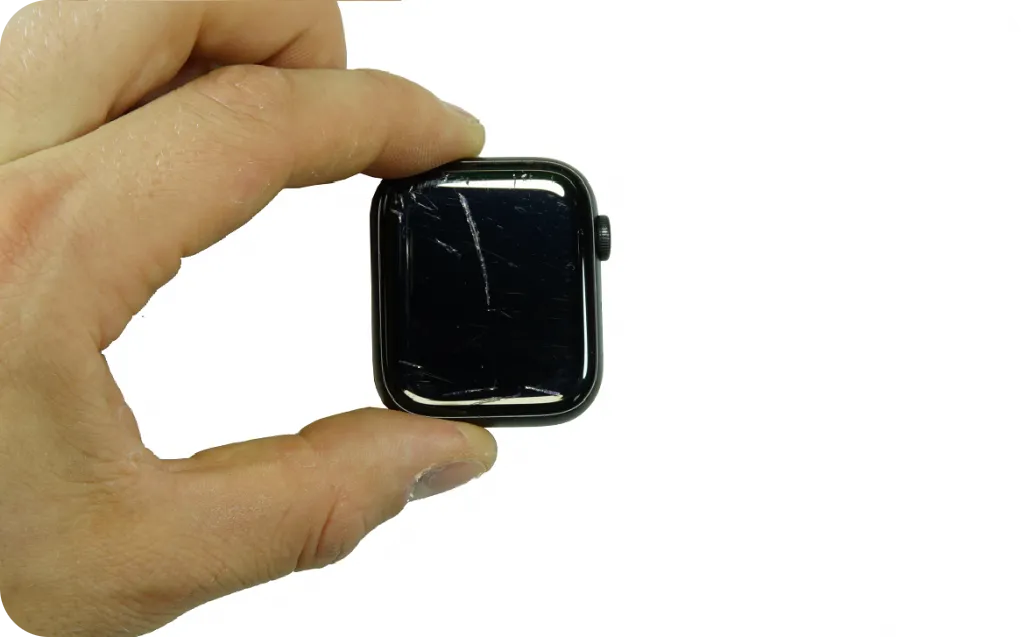
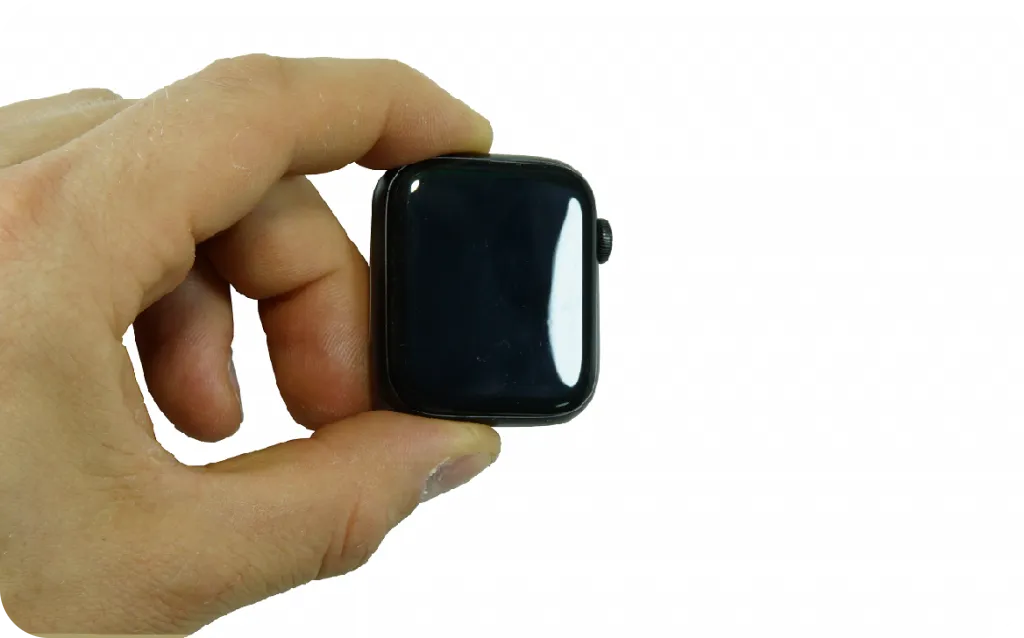 BeforeAfter
